From iCloud to Azure: A Cloud Engineer’s Approach to Personal File Storage

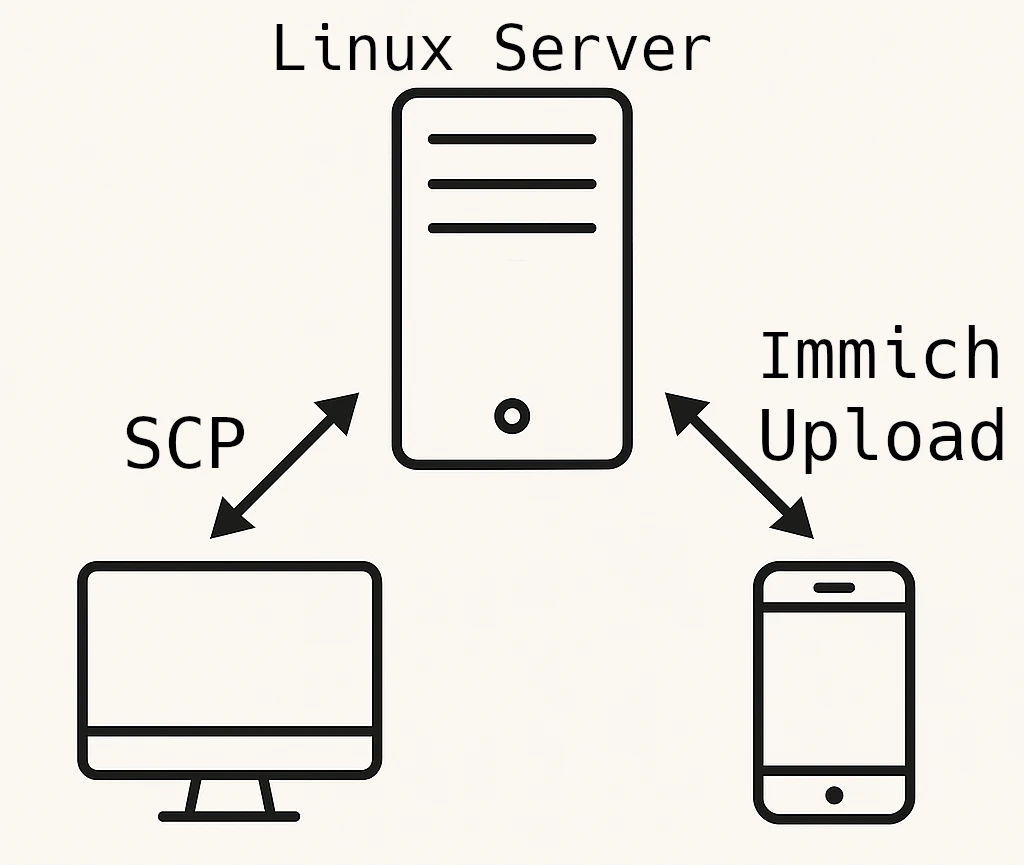
I store all my personal photos and videos on a Linux server at home, it is my single source of truth. The same server hosts an Immich instance to browse and share albums across my local network. While this setup works great, it’s still a single point of failure; hardware damage, theft, or technical faults could wipe everything out.
To protect against that, I tried using cloud services like OneDrive, Dropbox, and iCloud as off-site backups. However, each came with similar drawbacks:
- Limited flexibility when uploading or syncing new files.
- Rigid pricing plans: I was often paying for more space than I actually needed.
- No true headless sync: Most require a GUI client, (Automatic backups from a Linux server or cron job is complicated or unsupported).
Planning the Backup Solution
Due to the limitations in the earlier approaches, I decided to use Microsoft Azure for my off-site backups, specifically Azure Blob Storage.
Azure Blob Storage is reliable, flexible, and integrates well with automation workflows. For redundancy, I chose Locally Redundant Storage (LRS), which keeps three copies of my data within the same datacenter. This level of protection is more than enough for personal backup needs.
To keep costs low, I stored everything in the Cold access tier, which is ideal for data that is rarely accessed but must remain safe. These photos and videos are not meant to be read frequently; they exist only as a disaster recovery copy in case something happens to my local server.
This setup gives me confidence that my data is secure in the cloud, stored efficiently, and available when I truly need it.
Preparing the Azure Environment
Defining the infrastructure using Azure Bicep
In this stage I use Azure Bicep to declare the required infrastructure.
Storage Account
The Storage Account is the core resource, it defines the redundancy, performance, and default access tiers.
resource storageaccount 'Microsoft.Storage/storageAccounts@2025-01-01' = {
  name: '<STORAGE-ACCOUNT-NAME>'
  location: resourceGroup().location
  sku: {
    name: 'Standard_LRS'
  }
  kind: 'StorageV2'
  properties: {
    allowBlobPublicAccess: false
    minimumTlsVersion: 'TLS1_2'
    supportsHttpsTrafficOnly: true
    accessTier: 'Hot'
  }
}
Blob Service
The Blob Service configuration allows you to customize how blob storage behaves inside the Storage Account. Here you define properties needed to support a reliable backup workflow.
resource blobService 'Microsoft.Storage/storageAccounts/blobServices@2025-01-01' = {
  parent: storageaccount
  name: 'default'
  properties: {
    isVersioningEnabled: true

    deleteRetentionPolicy: {
      enabled: true
      days: 14
    }

    containerDeleteRetentionPolicy: {
      enabled: true
      days: 14
    }
  }
}
Containers
Containers act like logical folders inside Blob Storage.
param blobContainers array = ['archives', 'camera-roll', 'screenshots']

resource containers 'Microsoft.Storage/storageAccounts/blobServices/containers@2025-01-01' = [
  for c in blobContainers: {
    name: '${storageaccount.name}/default/${c}'
    properties: {
      publicAccess: 'None'
    }
  }
]
Role Assignment
Role assignments define who or what can access your Storage Account. In this setup, we grant the Storage Blob Data Contributor role.
resource roleAssignment 'Microsoft.Authorization/roleAssignments@2022-04-01' = {
  scope: storageaccount
  name: guid(storageaccount.id, '<PRINCIPAL-ID>', 'ba92f5b4-2d11-453d-a403-e96b0029c9fe')
  properties: {
    roleDefinitionId: subscriptionResourceId(
      'Microsoft.Authorization/roleDefinitions',
      'ba92f5b4-2d11-453d-a403-e96b0029c9fe'
    )
    principalId: '<PRINCIPAL-ID>'
    principalType: 'User'
  }
}
ba92f5b4-2d11-453d-a403-e96b0029c9fe is the Id of the role Storage Blob Data Contributor.
Management Policies
Management policies automate lifecycle tasks such as moving blobs to colder tiers or deleting old versions. These policies help optimize storage costs and keep your backup data organized without manual intervention.
As you can see, I’m defining that after three days the files move to the cold access tier, which helps reduce storage costs.
resource lifecycle 'Microsoft.Storage/storageAccounts/managementPolicies@2025-01-01' = {
  name: 'default'
  parent: storageaccount
  properties: {
    policy: {
      rules: [
        {
          enabled: true
          name: 'move to cold tier 3 days after file creation'
          type: 'Lifecycle'
          definition: {
            filters: {
              blobTypes: [
                'blockBlob'
              ]
            }
            actions: {
              baseBlob: {
                tierToCold: {
                  daysAfterCreationGreaterThan: 3
                }
              }
            }
          }
        }
      ]
    }
  }
}
Deploying the infrastructure
az deployment group create --name "deploy-$(date +%Y-%m-%d_%H-%M-%S)" --location "<YOUR-LOCATION>" --template-file "main.bicep"
To deploy the infrastructure, you first need the Azure CLI installed and authenticated.
Backup Operations
For the backup operations, all file transfers and synchronizations are performed directly from my source of truth, the Linux server where all my photos and videos live.
To handle these uploads, I use AzCopy, a command-line tool provided by Microsoft that is optimized for moving data in and out of Azure Blob Storage.
Login
With AzCopy installed, make sure to log in to your tenant so you can start uploading files.
azcopy login --tenant-id "<YOUR-TENANT-ID>"
First upload
This step transfers all existing files to Azure for the first time, creating the complete baseline of your backup.
azcopy cp "/mnt/Camera Roll/*" "https://<STORAGE-ACCOUNT-NAME>.blob.core.windows.net/camera-roll" --recursive=true --put-md5
Incremental Synchronization
This process updates only the new or modified files, keeping your backup up to date without re-uploading everything.
azcopy sync "/mnt/Camera Roll/" "https://<STORAGE-ACCOUNT-NAME>.blob.core.windows.net/camera-roll" --recursive=true --delete-destination=true --compare-hash=MD5 --put-md5
Conclusion
With this setup in place, all my important files now have a reliable backup in the cloud. The solution is affordable, easy to manage, and perfectly aligned with my workflow.
Categories
Automation Development tools Infrastructure Kubernetes Microsoft azure Programming guide Software architectureTags
Recent Posts